Fixing Rust Spots Around Car Wheel Wells Before They Spread
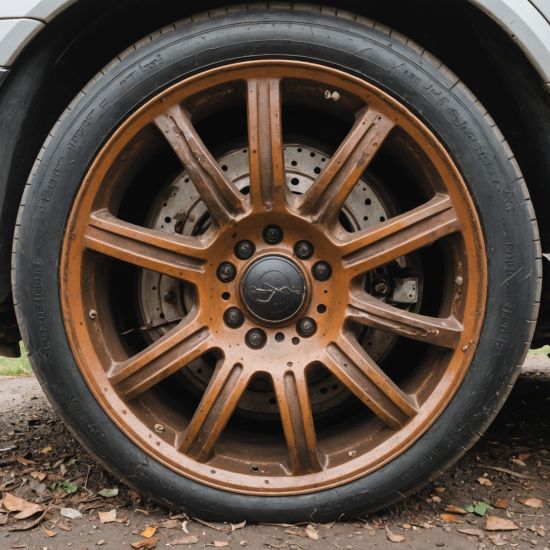
Rust is a car owner's worst nightmare, and wheel wells are a common starting point. Catching rust early can save you money and major repairs down the line. This guide will show you how to tackle those pesky spots before they become major problems.
Assessing the Damage and Gathering Supplies
Before you start, you need to determine the extent of the rust. Use a wire brush or a scraper to remove loose rust and debris to reveal the true size of the affected area. If the rust has eaten through the metal, professional help may be necessary. However, for superficial rust, you can tackle the job yourself. For this, you'll need some key supplies: a wire brush, sandpaper (various grits, starting with a coarser grit like 80 and progressing to finer grits like 220), rust converter, automotive primer, and touch-up paint that matches your car's color. You'll also need a clean rag, safety glasses, and possibly some masking tape to protect surrounding areas.
Treating the Rust and Preparing for Paint
Once you've cleaned the affected area, it's time to treat the rust. Apply a rust converter according to the manufacturer's instructions. Rust converters chemically change the rust into a stable substance that can be painted over. Allow the converter to dry completely, usually overnight. After the rust converter has dried, use sandpaper to smooth out any remaining rough edges or imperfections. Start with a coarser grit sandpaper, and gradually move to finer grits to create a smooth surface ready for primer. Remember to wear safety glasses throughout this process. Proper surface preparation is crucial for a long-lasting repair. Clean the area thoroughly with a clean, dry rag after sanding, to remove all dust.
Priming, Painting, and Protecting Your Repair
After the area is clean and smooth, apply a coat of automotive primer. This acts as a barrier between the bare metal and the top coat of paint, helping the paint adhere better and preventing future rust. Let the primer dry completely as instructed on the can. Once dry, carefully apply several thin coats of your matching touch-up paint, allowing each coat to dry before applying the next. Again, follow the manufacturer's instructions for drying times. Finally, for extra protection, consider applying a clear coat sealant to protect the paint job and prevent future damage. This step will help your repair last longer and maintain its appearance.