Mastering Basic Soldering: Repairing Loose Wire Connections
Soldering is a valuable DIY skill for repairing loose wire connections in electronics and other projects. Hopefully this guide provides pointers to help you with a step-by-step introduction to the basics.
Gathering Your Supplies and Preparing Your Workspace
Before you begin, ensure you have the necessary tools and materials. You'll need a soldering iron (a 25-40W iron is a good starting point for beginners), solder (rosin-core solder with a 60/40 tin-lead ratio is commonly used, though lead-free options exist), solder flux (to help the solder flow smoothly), wire strippers, and some form of heat-resistant surface (like a soldering mat) to protect your work area. It's also helpful to have a damp sponge or cloth nearby to clean the tip of your soldering iron. Additionally, consider using safety glasses to protect your eyes from molten solder splatter. You can find all these supplies at most electronics stores or online retailers such as Amazon. Make sure your workspace is well-lit and organized to prevent accidents.
The Soldering Process: A Step-by-Step Guide
Once you have your workspace set up, follow these steps for successful soldering:
- Prepare the wires: Use your wire strippers to carefully remove about ½ inch of insulation from the ends of the wires you want to solder. Ensure the exposed copper is clean and shiny.
- Apply Flux: A small amount of flux is applied to the cleaned wire ends. This helps the solder to flow properly and creates a better electrical connection.
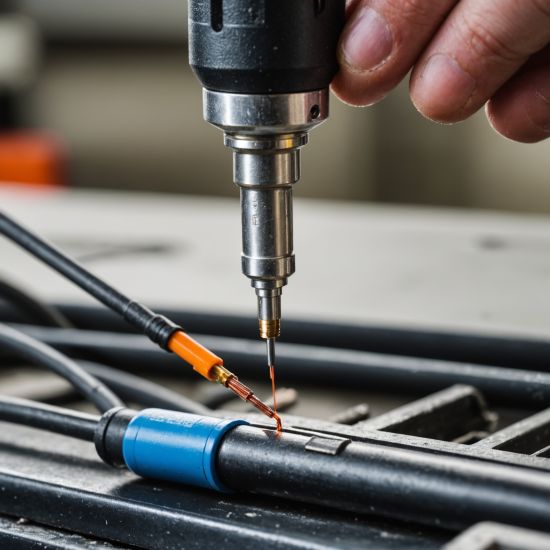
- Heat the Joint: Place the cleaned and fluxed wire ends together. Then, apply the tip of your heated soldering iron to the joint, ensuring it makes good contact with both wires.
- Add the Solder: Touch the solder to the joint near the soldering iron tip, not directly onto the tip itself. The heat from the iron will melt the solder and it should flow smoothly into the connection. Avoid applying too much solder. A small, neat joint is ideal.
- Remove the Iron: Once the solder has flowed evenly around the joint, remove the soldering iron. The solder should solidify quickly, creating a strong and secure bond.
| Step | Action | Notes |
|---|---|---|
| 1 | Prepare the wires | Remove insulation, clean exposed copper. |
| 2 | Apply Flux | Small amount, near the joint. |
| 3 | Heat the Joint | Iron tip contacts both wires; heat evenly. |
| 4 | Add Solder | Touch solder near the tip, not directly onto it. |
| 5 | Remove the Iron | Solder should solidify quickly. |
Troubleshooting Common Problems
Even with careful technique, problems can arise. If the solder doesn't flow smoothly, it might be due to a dirty iron tip (clean it with the damp sponge), insufficient heat, or cold solder joint (ensure you are applying enough heat). For a better understanding of troubleshooting soldering issues, consult resources like Instructables. If the joint is too bulky, you might have used too much solder. Practice makes perfect. With consistent practice and attention to detail, you'll improve your soldering skills, ensuring strong and reliable connections for your projects.