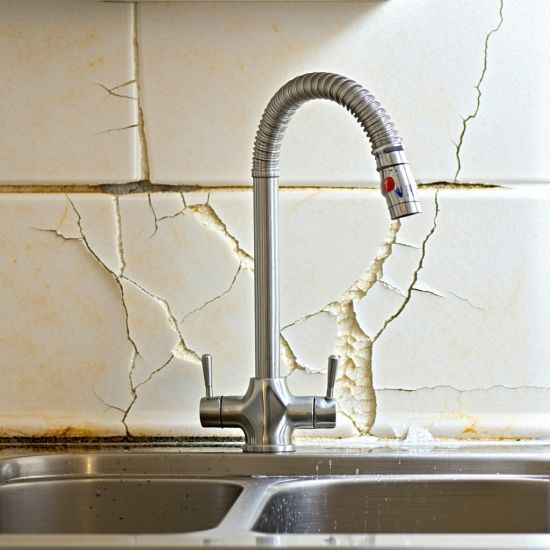
Re-Caulking Your Kitchen Sink After Water Damage

Water damage around your kitchen sink is a common problem, but thankfully, re-caulking is a DIY project that can fix the issue and prevent further problems. Let's get started!
1. Preparing the Area for Re-Caulking
Before you begin, you need to thoroughly prepare the area around your kitchen sink. This involves removing the old caulk completely. Use a utility knife or a specialized caulk removal tool like this one to carefully cut away the old caulk, ensuring you get as close to the sink and countertop as possible without damaging either surface. Once the old caulk is removed, clean the area thoroughly. Use a damp cloth and a mild detergent to wipe away any remaining residue, dirt, or mold. Allow the area to dry completely before proceeding. Proper preparation is key to a successful and long-lasting caulk job.
2. Applying the New Caulk
Once the area is clean and dry, it's time to apply the new caulk. Choose a high-quality kitchen and bath caulk like this silicone caulk that is mildew resistant. Cut the tip of the caulk tube at a 45-degree angle to create a smooth bead. Apply a consistent bead of caulk along the seam between the sink and the countertop, pressing firmly to ensure good adhesion. A smooth, even bead will provide the best seal. You can use your finger, or a caulking tool to smooth the bead for a professional look. Remember to work slowly and carefully, ensuring complete coverage.
3. Finishing Touches and Important Considerations
After applying the caulk, use a wet finger or a caulking tool to smooth the bead, creating a neat and professional finish. Wipe away any excess caulk immediately with a damp cloth. Allow the caulk to dry completely according to the manufacturer's instructions—this usually takes 24-48 hours. During this drying period, avoid using the sink excessively to prevent the caulk from being disturbed. To prevent future water damage, address any underlying issues like leaky faucets or pipes promptly. Regularly inspect the caulk around your sink for any signs of cracking or deterioration and re-caulk as needed. This preventative maintenance can help you avoid more extensive repairs in the future.


